
kitchen cupboards

This was our first big project on our house. It was a good one to start with because it made some of the other projects we have done since seem like a stroll in the park. Don't let it scare you. It is not hard, just time consuming. What is that saying? "Good things don't come easy." or a quote from Jef Holm's facebook page, "What comes easy won't last. What lasts won't come easy." Wow, he is so smart! He must be a DIYer. We want these cupboards to last so let's hope it's not too easy. I was so scared to mess up my cupboards but I didn't. Yay! Are they perfect? No. Do they look way better? YES! Do I love them? You betchya. If you are thinking about painting yours I would definitely say do it. I think if you follow the steps I am going to give you and do your best you will LOVE the results.
 |
| This is what I looked like for a couple of weeks. |
I'll list all the steps and then go through each one:
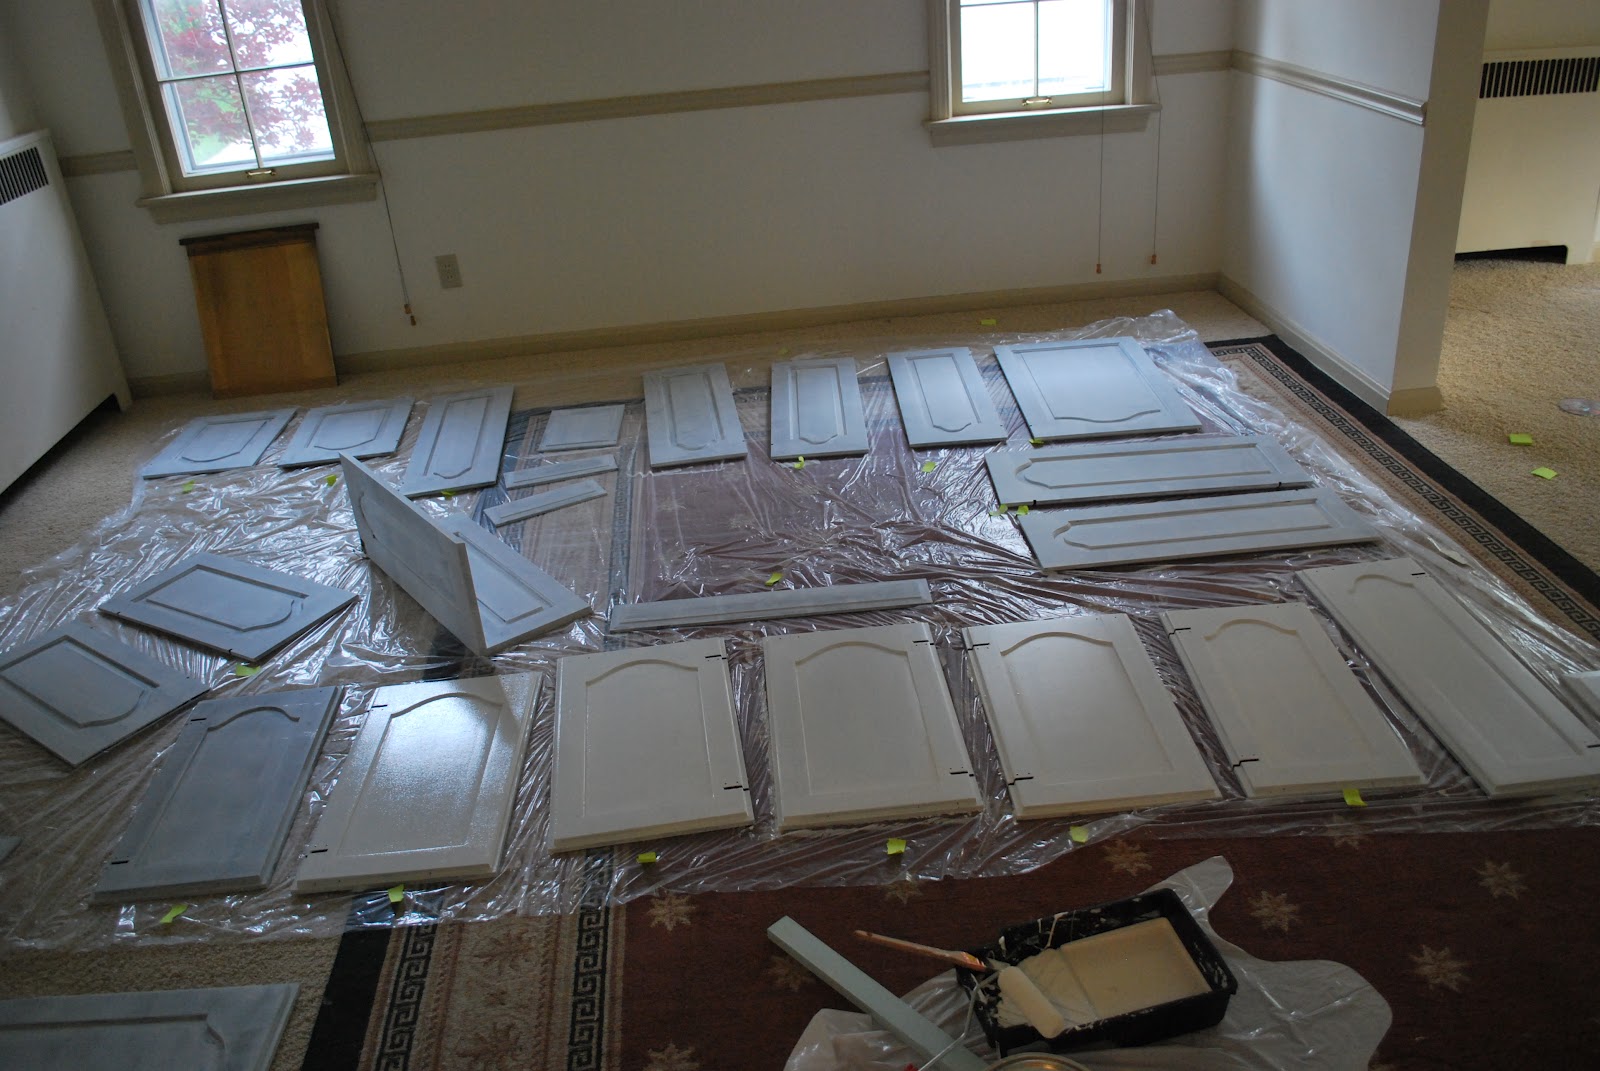
1. Remove hardware and cupboard doors (number doors).
2. Fill in holes and nicks with wood filler. Let it dry and sand it down.
3. Wipe down with TSP cleaner (and rinse with water).
4. Prime.
5. Sand. Then vacuum and wipe down.
6. Prime.
7. Sand. Then vacuum and wipe down.
8. Paint.
9. Lightly sand, vacuum and wipe down.
10. Paint final coat.
11. Re-hang and add hardware.

1. Remove hardware and cupboard doors.
This one I left for Dan to do while I went to purchase the supplies. He did a great job. He put the hinges and magnetic pulls in baggies inside of the cupboards that they belonged to. We decided to get new knobs so he didn't have to keep track of those. He also used post-it notes label the cupboard doors and the inside cupboards so we would know where to replace them when finished.


2. Fill in the holes and nicks with wood filler.
Dan filled in all of the holes that were left by the knobs because we wanted to move the knobs down from where they sat before. So he filled them with wood filler, let that dry and then sanded it down so it was smooth for painting.
3.Wipe down with TSP cleaner.
This stuff is intense. I always forget to wear rubber gloves when I am supposed to. Don't forget when using this stuff. My hands were so dried out that layers of skin came off and my nails frayed and started peeling off. Gross! Don't forget the gloves. This stuff saves time and gets into places a sander can't. After you wipe them off and get all of the grease and shine off then remember to get clean water and wipe them down again so the primer will stick.
4. Prime.
I used a Zinsser oil-based primer. It adhered nicely but it was a pain because I had to wear a respirator because it is oil-based. If I were to do it over again I would use Zinsser odorless. It is low VOC and covers and adheres very well. I used it on my fireplace recently. Let it dry. Flip it over and then do the other side. I would start with the insides first to give the best finish to the outside by letting dry longer without having to flip it right away. Don't forget to get the base of your cupboard in the kitchen :)


Lightly sand the whole surface for a smooth finish. I vacuumed and wiped it down before I did another coat because I didn't want ANY dust in my paint.
6. Prime again.
I didn't do this but I wish I would have. I had to do 3 layers of paint and I feel like the paint is not as forgiving as the primer. Meaning you can sand down the primer for a smoother finish.
7. Sand, vacuum and wipe...again.
8. Paint.
I used Benjamin Moore's Waterborne Satin Impervo paint in White Dove (color). It went on really smooth, perhaps a little runny. I painted the detail first, then the inside flat part, then the surrounding flat part and then the sides. Let it dry and then flip just like with the primer (I would start with the inside part first).

9. Sand.
Lightly sand, vacuum and wipe. You want to get a nice smooth finish and remove any imperfections, i.e. dust, hair, runs, drips, brush strokes, etc.
10. Paint.
This is your final coat. You are almost there! It will be SO worth it. Finish strong and paint those doors using nice long strokes and remembering to get any drips or runs this time with your brush because you don't want to sand AGAIN. Let these puppies dry for a while. A few days if you can. The Impervo will harden the longer you give it. You don't want any nicks in the re-hanging process.
11. Re-hang and add hardware.
After the doors have dried re-hang the doors. Add hardware, knobs or pulls. If you are using new hardware make sure you drill the holes in right spot. Measure twice (or thrice), drill once.


Primer
Paint
Sand paper 100-grit (clog free)
Vacuum with a hose
Rags
TSP cleaner
A few great paint brushes (I used Purdy)
Knobs/Pulls
Painter's tape (I use Frog tape)
Wood filler
Puddy knife
Drill
a few more pics...

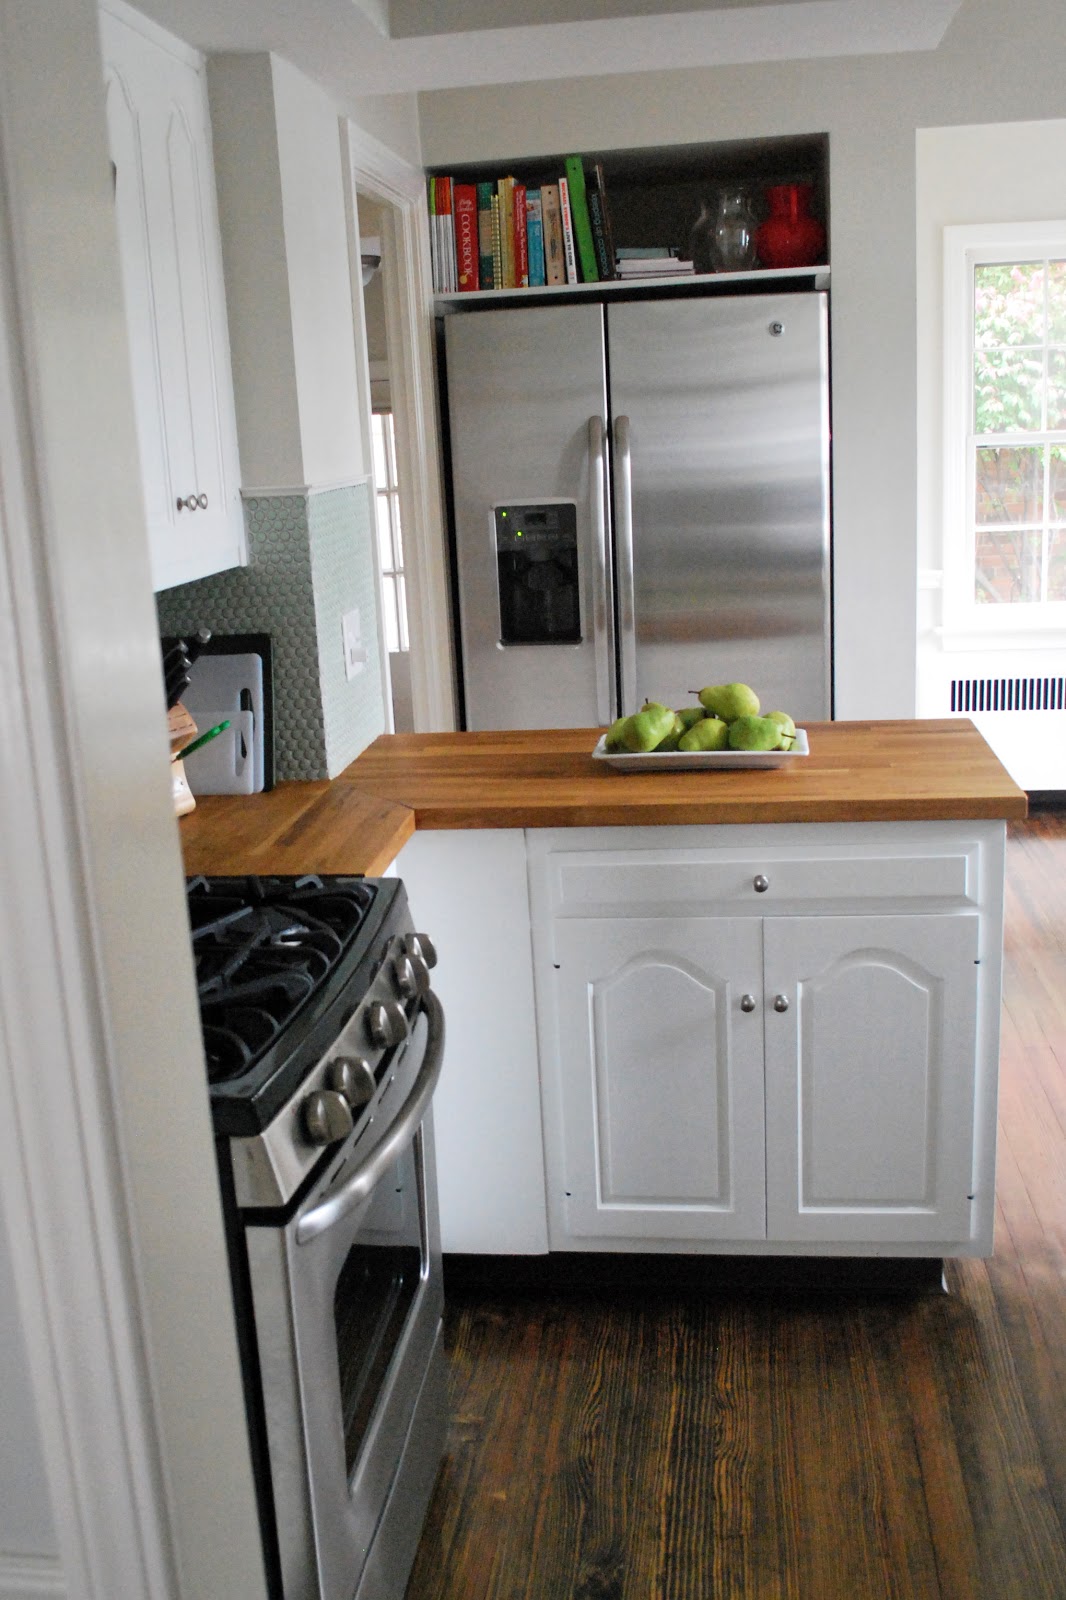

Everything looks so amazing!!
ReplyDeleteThe place looks so fascinating and very comfortable! It is so clean plus the colors you use is white which makes it more beautiful.
ReplyDelete